Pro Impressions
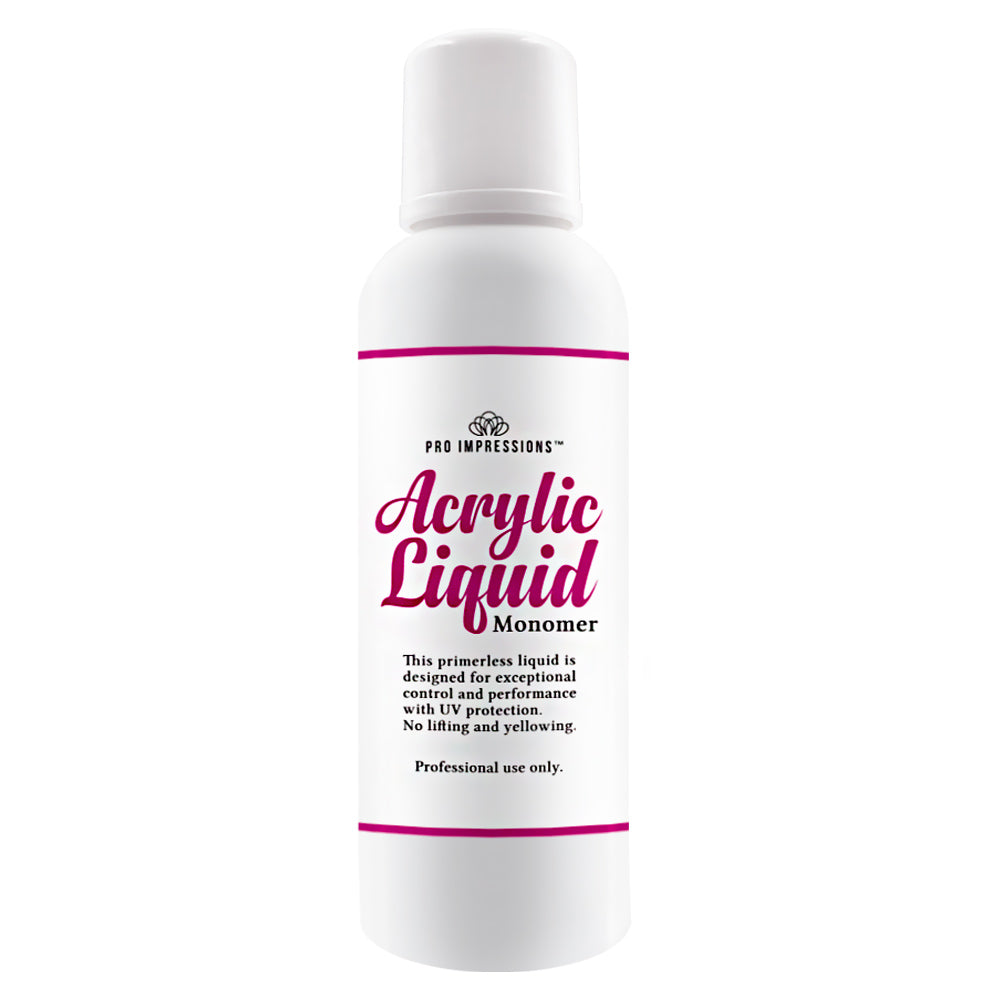
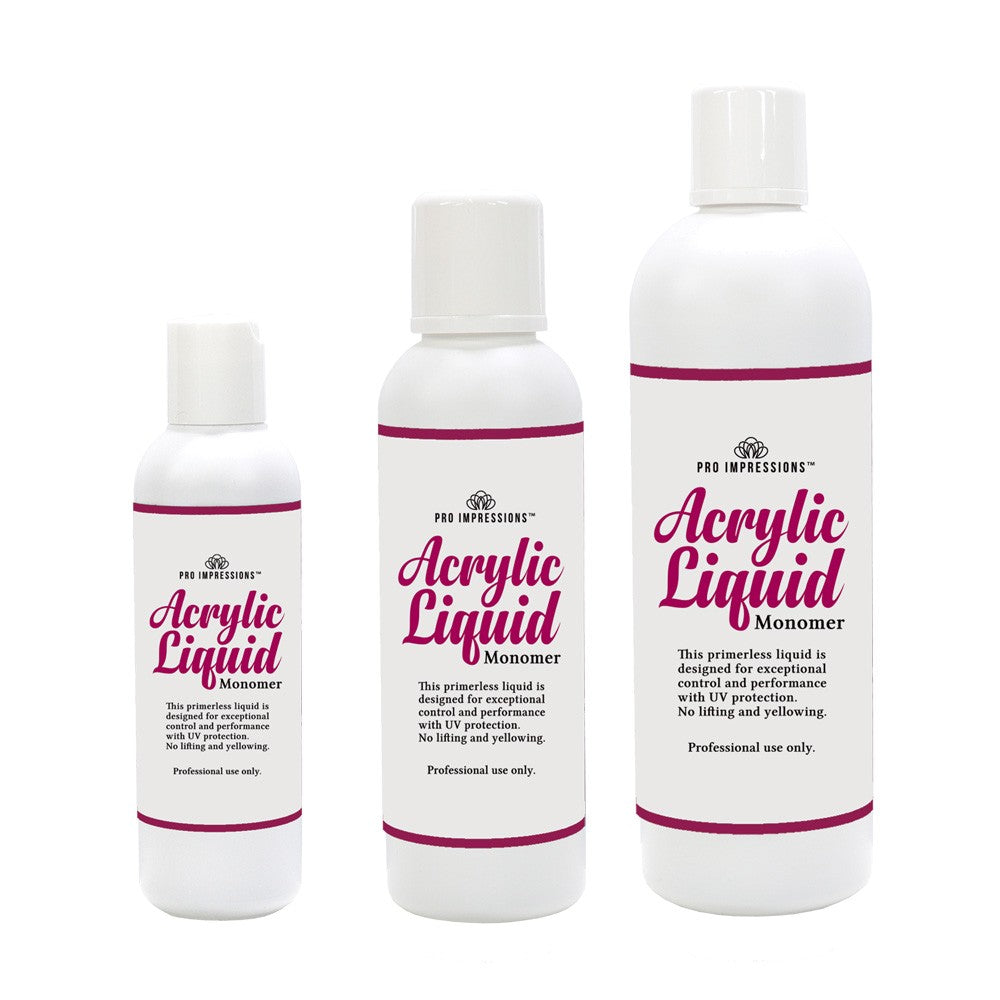
Acrylic Liquid Monomer
Acrylic Liquid Monomer
SKU:AAL07
The Advance Acrylic Liquid is a primer less liquid designed for utmost control and performance when used alongside the advance acrylic powders.
Please Note:
Please ensure that the product does not come into contact with the skin as it may cause irritation or a burning sensation. If product touches the skin please wash the area immediately and if irritation continues with use please stop and contact your GP.
Application Tips:
1) Prepare the nail by pushing back cuticles and removing the shine, dust nails.
2) Size and apply tips using Pro Impressions Brush-on Glue.
3) Cut to length and blend the seam accordingly and remove the shine from the applied tip.
4) Use Pro Impressions Primer and allow to dry thoroughly (optional as Pro Impressions Acrylic System is designed to be used without Primer (When The Acrylic Liquid and Powder are used together)
5) Pick up a large ball of powder and roll it onto the free edge area of the nail. The consistency of this ball should be dry enough to hold its shape when being worked. Using the belly of the brush pat and push the acrylic into shape. Taper the acrylic so that it is thinner at the free edge than it is in the stress area.
6) If using Pink and White Acrylic powder, then this ball should be made from white powder. Using the side of the brush form a smile line where the pink of the nail body and the white of the free edge meet.
7) Apply a small ball of acrylic near the cuticle. Gently pat and push to move the product, so it tapers toward the cuticle. This ball of acrylic should be of a wetter consistency so that the product works and flows smoothly, but not so wet that it runs into the cuticle. Keep the product at least the thickness of a business card away from the cuticle to prevent lifting. If using Pink and White Powder, then this ball should be made from clear or pink powder.
8) Pick up a medium sized, wet ball of acrylic and place in between the first two areas. Stroke the product over the entire nail to build and reinforce the stress area while creating a smooth finish. Check the nail from all angles to ensure the shape and structure are even. Apply additional balls if needed to build the arch to provide strength to the nails.
9) File both sides of the nail groove and the free edge of each nail. Shape and contour the surface of the acrylic, and level the free edge and cuticle areas.
10) Using a block buffer produce a smooth and even surface. Finally, apply Pro Impressions Cuticle Oil to nourish the cuticle area.
| Quanity | Discount |
|---|---|
| 2-4 | £7.79 + VAT |
| 5-9 | £7.38 + VAT |
| 10+ | £6.97 + VAT |
Couldn't load pickup availability
Share


